Renovating a home is an exciting milestone. Whether you are updating a century-old kitchen, expanding a bathroom, or simply refreshing the plumbing fixtures, improvements often transform the feel and functionality of your living space. However, beneath the dust of demolition and the fresh coat of paint lies a hidden variable that many homeowners overlook: the integrity of their drinking water.
Disturbing pipes during a renovation—even if you aren’t directly replacing them—can create a significant risk of lead contamination. If your home was built before the mid-1980s, your plumbing system might be older than you think. Understanding why and how to conduct lead water testing after renovation work is a crucial step in ensuring your newly renovated home is as safe as it is beautiful.
Why Renovation Can Trigger Lead Leaks
It is a common misconception that lead only enters the water through old, decaying pipes. While lead service lines are the primary culprit, lead can also be present in solder, faucets, and brass fittings.
During a renovation, the plumbing system is subjected to physical vibrations, pressure changes, and stagnant water displacement. When pipes are jarred, moved, or partially replaced, the internal protective layer of scale—often referred to as mineral buildup—can be knocked loose. If that scale contained lead, it might break off into your water supply. Furthermore, “replacing” a section of pipe can sometimes worsen the situation by causing galvanic corrosion, a reaction that occurs when two different types of metal (like copper and old galvanized steel) are connected, which can accelerate the leaching of lead into the water.
Because these changes happen inside your walls or under your floors, you won’t see them. You won’t taste, smell, or see a change in the water, which is why testing is the only definitive way to know what is flowing through your taps.
When Should You Test?
Ideally, you should test your water before, during, and after any significant plumbing work. However, if your renovation is already complete, do not panic. The best time to test is now.
Wait at least two weeks after the completion of the plumbing portion of your renovation to ensure that the system has stabilized and that any construction debris or loosened particles have been flushed through the regular use of the household. Once that period has passed, you can schedule a professional test to establish a baseline for your renovated home.
The Importance of Professional Testing
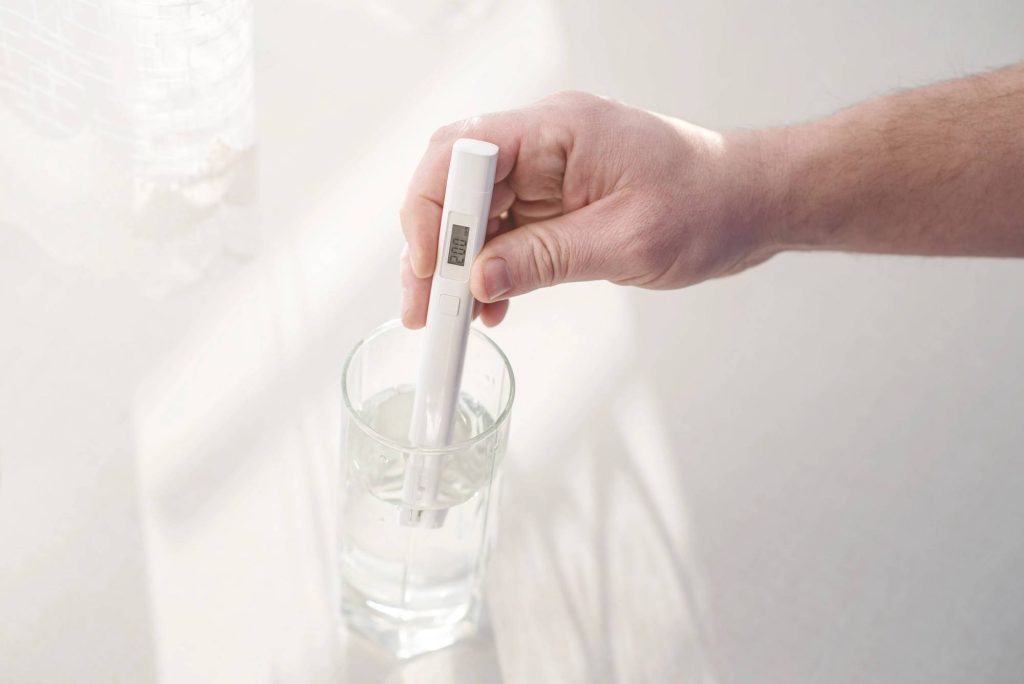
While many hardware stores sell DIY lead testing kits, they are often designed for surface testing (like paint chips) rather than water analysis. Water testing for lead is a highly technical process that requires measuring parts per billion (ppb). Precision is essential, as the EPA’s action level for lead is 15 ppb, a threshold so low that even a small error in a home test kit can lead to a dangerous false sense of security.
Professional laboratory testing provides:
- Certified Accuracy: Samples are analyzed using advanced equipment like ICP-MS (Inductively Coupled Plasma Mass Spectrometry), which is the gold standard for detecting heavy metals.
- Comprehensive Reporting: You receive a detailed analysis that tells you exactly how much lead is in your water, helping you decide if remediation—such as installing a point-of-use filter or replacing specific pipes—is necessary.
- Peace of Mind: Understanding the sources of lead in your specific plumbing configuration allows you to make informed decisions rather than guessing.
For those looking to secure their home environment, professional lead testing services are the most reliable way to navigate post-renovation safety.
Understanding the Health Implications
Why go through the effort of testing? The reality is that lead is a potent neurotoxin with no known safe level of exposure. While adults are certainly at risk, children and pregnant women are the most vulnerable. Lead exposure can lead to developmental delays, learning difficulties, and behavioral issues in children.
By neglecting to test your water after a renovation, you might be unknowingly exposing your family to a substance that accumulates in the body over time. Being proactive is the best form of prevention. If you are concerned about specific symptoms or the long-term impact on your family’s health, you can learn more about the associated health risks on our website.
How to Prepare for a Water Test
If you have decided to move forward with a test, preparation is simple. Most laboratories require a “first-draw” sample. This means you should let the water sit in the pipes for at least six to eight hours—usually overnight—without using any faucets or toilets. This allows the water to remain in contact with the plumbing fixtures, which is when leaching is most likely to occur.
Collecting the sample first thing in the morning ensures that you are capturing the “worst-case scenario” for your home. If your first-draw sample comes back clean, your risk is likely very low. If it shows elevated levels, your professional advisor will help you determine the next steps, which might involve a “flushed sample” test to see if the lead is originating from your internal fixtures or from the municipal service line.
A Note on Local Water Systems
Water quality is often highly localized. The age of the municipal infrastructure in your city, combined with the specific chemical balance of your local water supply, plays a huge role in how much lead leaches into your home.
Whether you are in a historic neighborhood with aging infrastructure or a newer development, our local services are tailored to understand the unique plumbing profiles of various regions. Even within the same city, two different homes can have vastly different water safety profiles based on the year of construction and the materials used by the original builders.
Summary Checklist for Post-Renovation Safety
To recap, if you have recently finished renovations, follow this guide to ensure your water safety:
- Wait for Stabilization: Allow two weeks post-renovation before collecting your samples.
- Consult the Experts: Avoid inaccurate over-the-counter kits and opt for lab-certified testing.
- Use First-Draw Samples: Collect water after it has been sitting in the pipes for 6–8 hours.
- Review the Data: Work with a professional to interpret your results and plan for remediation if necessary.
- Stay Informed: Keep up to date with frequently asked questions regarding water safety and plumbing maintenance.
Renovating your home is an investment in your future. Don’t let a hidden contaminant undermine that investment. By taking the simple, proactive step of testing your water, you ensure that the home you worked so hard to improve is a healthy environment for years to come.
For more information or to speak with a specialist, feel free to browse our blog for further tips on maintaining water quality, or reach out to our team directly for guidance on your specific situation.
External Resources:
- For further information on lead and drinking water, visit the EPA’s Ground Water and Drinking Water website.
- Learn more about the health effects of lead at the CDC’s Childhood Lead Poisoning Prevention Program.